|
Building " 'Lil Slugger", a Perfect 10!
He is also looking forward to being able to build the tugs for those of you on the East coast. Now and then we have clients who love
the tugs but are unable to complete the building process themselves. Kurt will be able to help with that! You can
contact him through us or call him directly. Either of us can give you instructions on purchasing your plans in order to begin YOUR boat. We are lucky that Kurt has chosen to
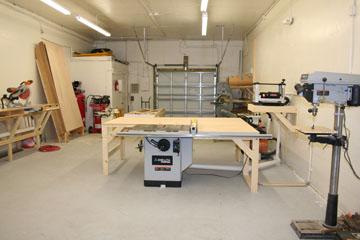
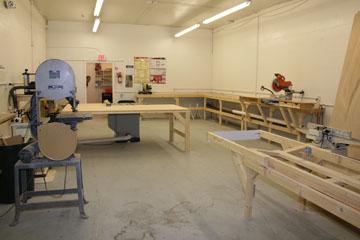
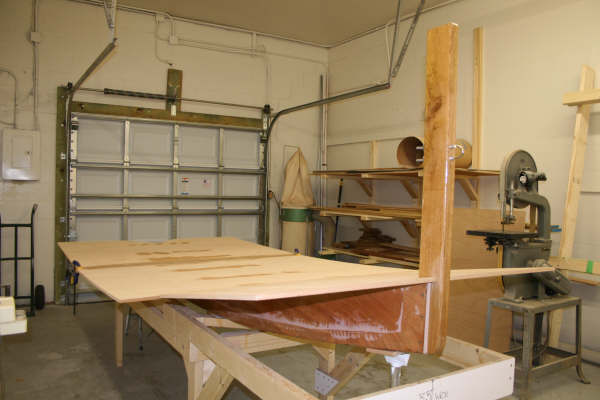
share this process with us! Above and below are some photos, one of Kurt's shop sign, and two of his shop. This way you can see the actual working space
and conditions. Here goes!
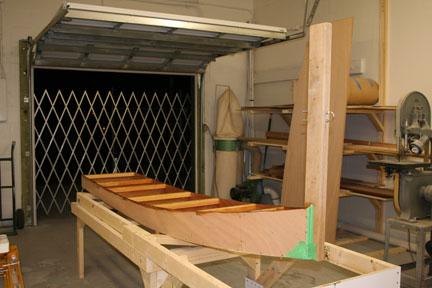
This next photo was taken at the end of the first day working on the boat! The quote from Kurt: "After a long day of building, the shape appears. The plans were easy to follow, a lot of progress is made." Here it is, the beginning of the " 'Lil Slugger"!
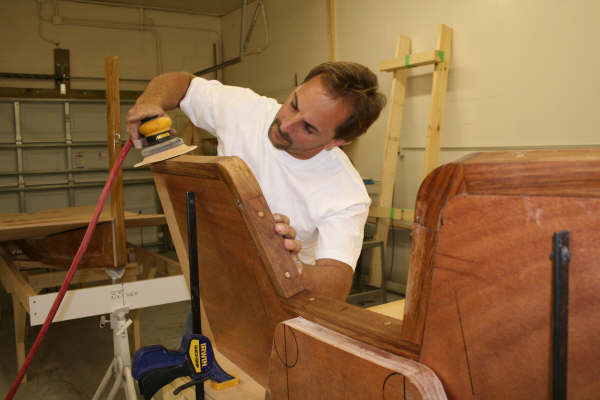
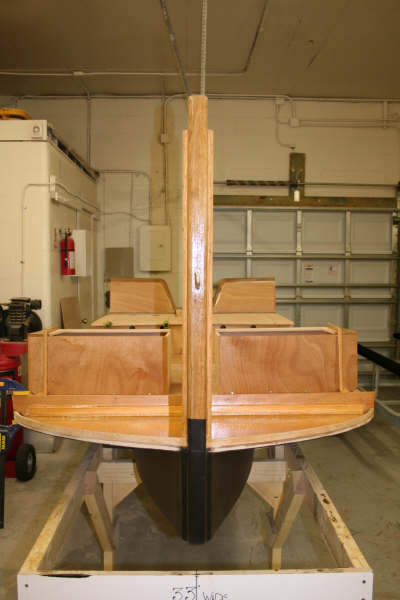
Here are some photos of Day #2 and #3. The rough deck layout is above. The side view of the transom is first and the elevation view of the transom is next. After that you can see the transom taking shape and a photo of Kurt sanding the teak! Kurt's explanations are listed here:
"What I have done here is apply 1 7/8' teak as a caprail to the transom. This adds strength and beauty." Side elevation of transom: "The transom is set at 78 degrees. I have strengthened the support by adding a 3' ply to the base and, using a fillet of epoxy resin with balloon fibers, the joint is strengthened. This will ultimately be fastened to the deck." Kurt sanding teak trim: "Using a 220 grit, I sand the teak trim of the transom. Afterwards I applied a 1/2' radius to both sides of the trim." Rough deck layout: "This rough deck is now fastened and sealed in place. Once it is set, I will measure and cut the deck in place."
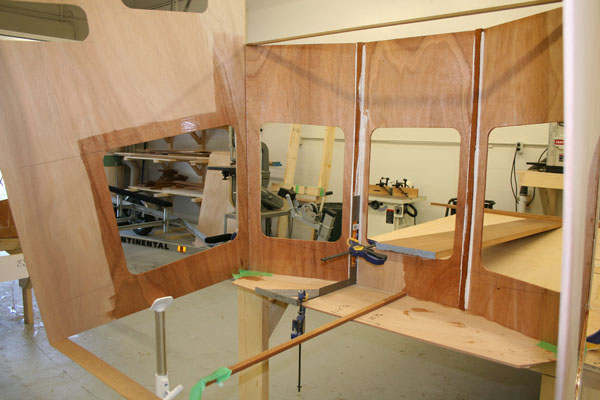
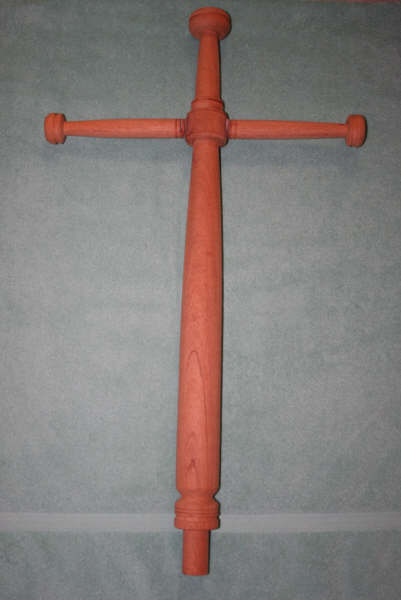
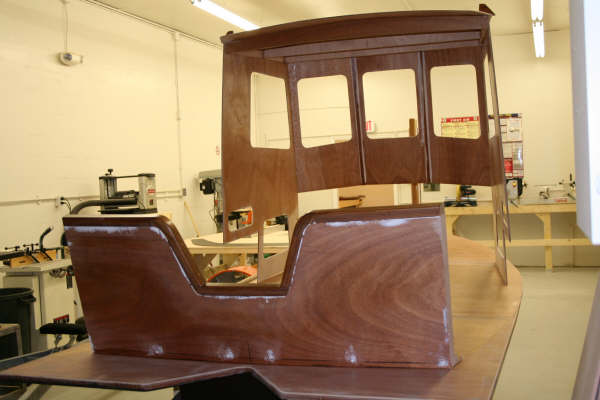
The following are more photos of Kurt working on the " 'Lil Slugger". His descriptions are below: Construction of the pilot house: "I've constructed the pilot house, up-side-down, off of the side of one of my work benches. Two tressels to support the sides of the pilot house and the top and bottom are braced with two pieces of wood. This will stop it from moving apart. The fastening structure (to the bench) is clamped down and I've used a piece of 1/4' ply and temporary brad-nailed to the underside of the pilot house. "Using a steel, 90 degree-square and clamping it to the pilot house and the 1/4' ply. Then apply 3', number 6 fiberglass cloth on all inner joints." Front view of pilot house: "A stitching system of plastic cable ties is used. This will help establish correct angles on the pilot house." Boat mast: "Three pieces of mahogny, 1' x 3', have been laminated using West System - what I feel is the best for this need. A boat mast has been designed using my lathe to shape."
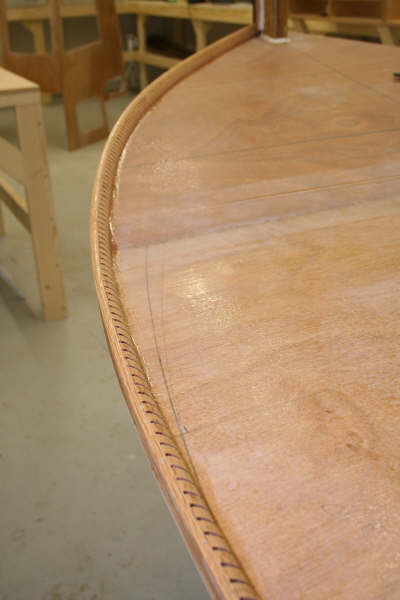
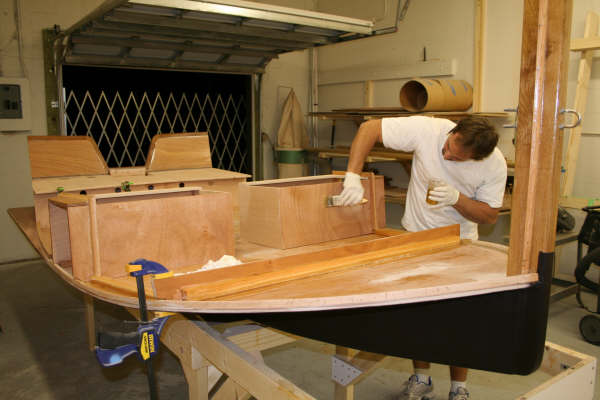
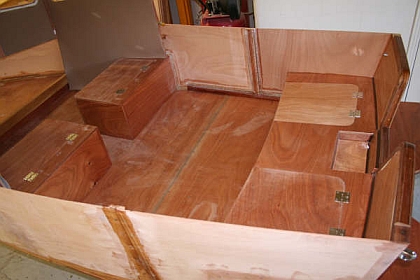
11/29/07 As you can see, Kurt has been busy these last weeks. In the following photos you will see his work to date. I have numbered them in the order that they appear below, along with adding Kurt's and/or his lovely wife Jill's comments on each: 1. Rolling Hull: Applying the second coat of black bottom paint. Beneath the bottom paint are three layers of fiberglass - the maximum finish, this is Kurt's choice. Fewer coats would work, but because of the elements in our area Kurt chooses to do the most for protection. 2. Hull Support: In order to fasten the 3/4 round, Kurt agreed with the plans and spaced cuts 1/4-inch apart to make the oak bend easier to follow the line. Once tacked in place, Kurt applied an epoxy - peanut butter thickness - and used a plastic spatula to fill the grooves. After that he applied a 2' fiberglass cloth over the piece to seal it off. 3. Checking the lineup: This was a temporary fit with the pilot house to make sure lines are coordinating and measurements are meeting. 4. The seat boxes: I am sealing the wood, before fiberglassing, with an epoxy resin. 5. From the bow: A view from the bow - the next step is to attach the pilot house.
12/1/07 Kurt has been making incredible progress on his " 'Lil Slugger"! Below you can see the 2 newest updates to his work. Kurt has found that he has a huge love for these little mini tugboats. He appreciates their character and their design. He is anxious to begin building the little tugs for those of you out there that are unable to build one for yourself! The " 'Lil Bud Lite" will be making her appearance at a boat show in Florida in January, 2008. Here are Kurt and Jill's latest comments with 2 photos following: 1. The first pic shows the pilot house on the hull to make a template for the upper deck. 2.The second photo looks into the back of the boat - showing the seats and space. We will start to apply paint next week.
12/15/07: " 'Lil Slugger" continues quickly along the road of completion! This project, which began October 30, 2007, has traveled at high speeds the entire way. Kurt's instant love of these little boats shows in his work. This boat is almost completed. This is very exciting and again we thank Kurt and Jill for their explanations, their photos, and the sharing of their ideas.
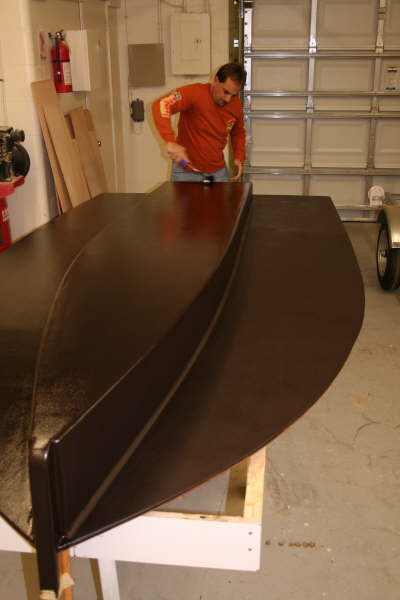
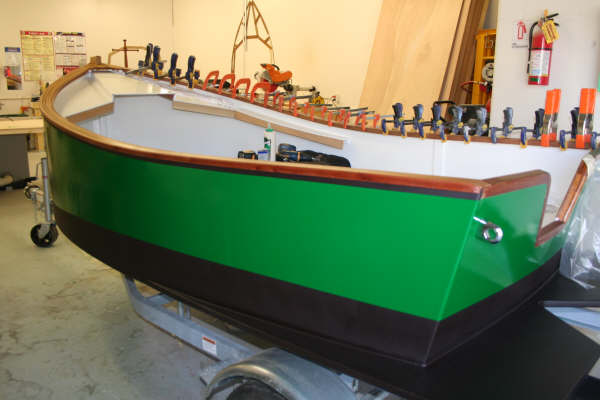
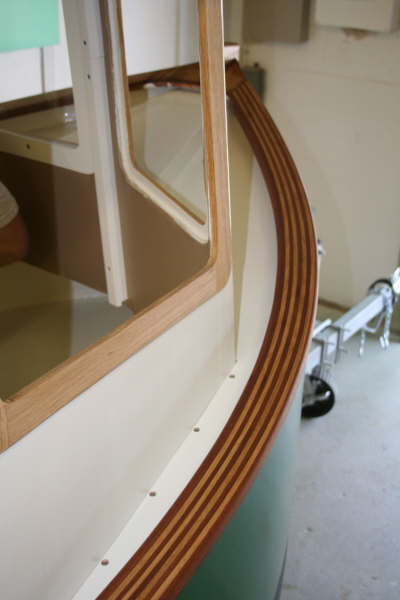
Kurt is forming the caprail, made of mahogany and white oak strip. These are cut 1/4 inch wide and 3/4 inch depth. they are epoxied together. Because of the curve of the caprail, he did two at a time and allowed 4-5 hours drying time. By doing this, he achieved a close and tight fit. Bow detail: (painted white) Kurt added a canopy to the bow as a platform for an imitation hatch in his own design.
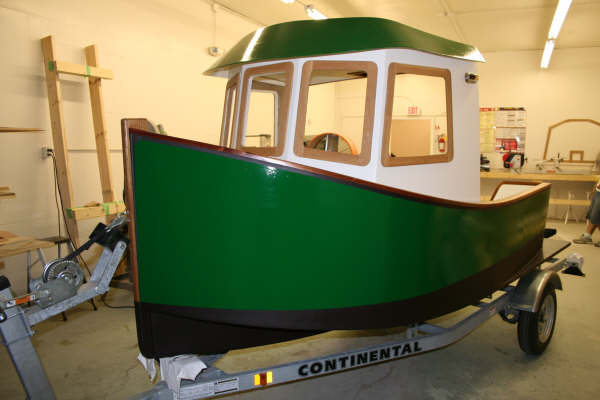
Using a flat black bottom paint, Kurt painted the hull along the waterline. The rest of the hull is painted with a Shamrock Green. Suggestion: When applying any color, mix 3 oz. of the actual color with the primer to help achieve a better final color.
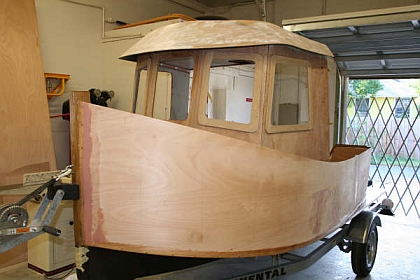
The pilot house is on and " 'Lil Slugger" takes form! There's still a lot of trim work to be done, but the little boat has character
A better angle of the caprail to show the beauty of the wood used. This rail will still get a final finish - the last to be applied when the tug is complete - but it is beautiful already!
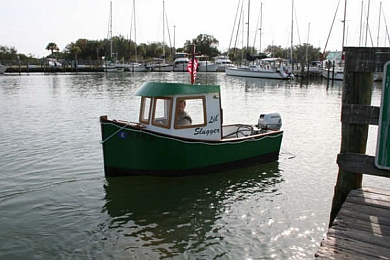
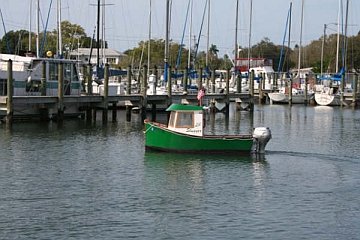
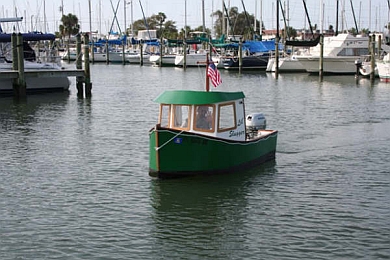
The Launching of " 'Lil Slugger"The " 'Lil Slugger" was launched on Friday, February 22, 2008 in Gulf Port, Florida! Her first trip out went smoothly! Here is a quote from Jill: "Hi Susie!! Today we put Lil' Slugger in the water for the first time!! We changed the boat name due to possible problems with Budweiser...and this name suits the boat better!! I'm attaching three photos of Kurt in Lil' Slugger - she glides through the water like a dream!! We had LOTS of people smiling and waving and asking questions - and we had a brown skate - about 3 feet in diameter - surf alongside Lil' Slugger...it was a really beautiful moment! Kurt plans to start his next boat soon - likely Candu-ez...we'll keep you updated!! Hope all is well with you!! Jill and Kurt" Following are the photos of her first trip out. Congratulations to Kurt and Jill for being the first ones to buy plans, build and complete the boat, and launch, since we began our website!!! This is very exciting for all of us! Many thanks to them both!
Kurt and Jill are going to begin their next boat-building project. Kurt purchased plans for all 4 boats, and will eventually finish all of them for us, sharing the entire way! He is leaning towards the next boat being a Candu E-Z! We can't wait!!!!! Thanks again!
|