|
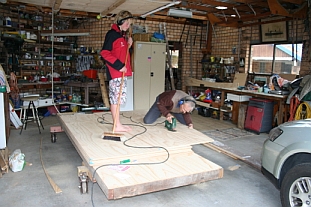
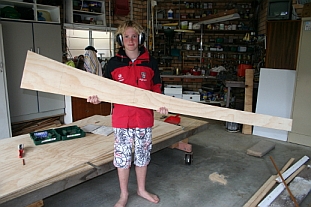
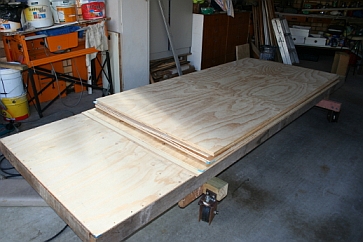
Building a Candu JuniorMalcolm Newbiggin and his grandson, Adam Boslem, of Australia and members of our newest group, Little Bitts DownUnder, are building a Candu Jr.! They have chosen to share the process with us from start to finish. They will provide photos and tips, and comments! The boat was begun in late July 2008. We are very thankful that they will do this! Enjoy the process, everyone! First of all there was a "trolley" to build. Here in our "parts" we call it a "dolly"! This is a great idea for this building process, and we thank Malcolm for sharing with us! Below we have photos of the the first cut into the wood, and one of Adam holding the first cut-out, which will become the box keel, and then a photo of the box keel itself.
Malcolm is going to share with us, and here we go! His comments will be stated, and then the photo will be below. "This photo shows the dolly, it is 12ft x 4ft, sheeted with 7mm ply over a 4"x2" hardwood frame. The wheels are like shopping trolley casters 6 "diameter, rubber tired ( had the frames made). There are marks on the floor to locate it in exactly the same spot if it is ever moved, a dumpy level was used to level it up when it was in the boat building position. I am using it at present as a table to mark and cut out the major panels before it is used to assemble the boat."
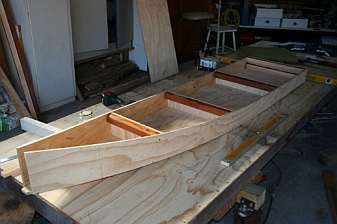
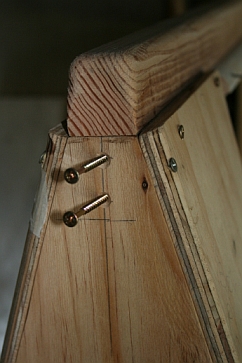
"View of stem underneath keel showing stem joint and bottom/side panel location at the stem. The ply was held together with temporary screws until the inside of the keel was fibreglassed."
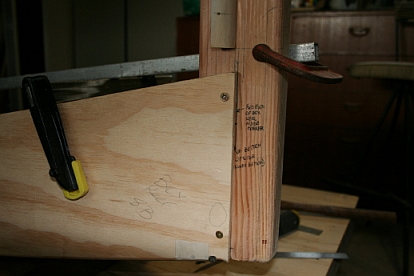
"Starboard side of box keel showing stem and location of ply for'd. The aluminium straight edge is clamped to the stem and extends to the transom to ensure the stem side is parallel to the centreline of the boat. After the keel was assembled it was secured to the table with angle brackets to keep it from twisting during fibreglassing. The dumpy level was useful as a supplement to spirit levels to check level of the transom and the forward bulkhead. The stem was located vertically with a spirit level.
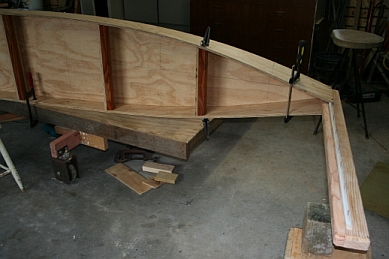
"Internal view of box keel. The inside was primed and glassed after assembly using chopped strand mat then the screws were removed. The only fastenings remaining are the two screws in the base of the stem and screws holding the oregon beams at the tops of the bulkheads. The bulkheads were glassed before the beams were installed, the beams were bedded in a resin paste and then glassed to the keel sides and the bulkheads. Susie, I am going to this detail because it will describe much of the practical stuff and I think it will be useful because I had some puzzles to work out myself."
|